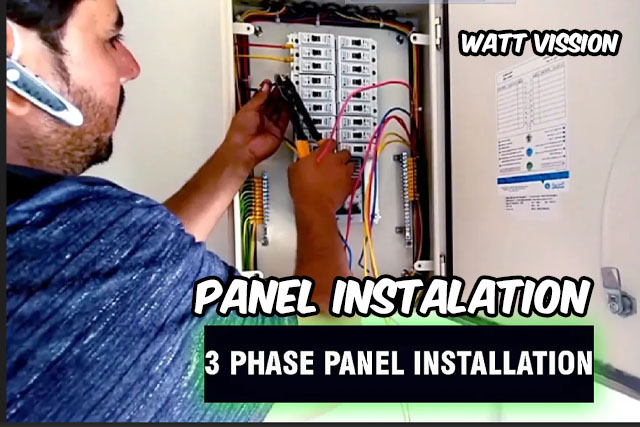
Installing a 3-phase panel distribution system is crucial for managing and distributing electrical power efficiently in commercial and industrial settings. Below is a step-by-step guide to help you with the installation process:
Preparation:
Clean the Installation Area: Ensure the installation site is clean and free from any obstructions.
Gather Equipment: Have all necessary tools, materials, and safety gear ready.
Power Down: Make sure the power is turned off to avoid any electrical hazards.
Select the Panel Location:
Choose a Suitable Spot: Install the panel in a location that is well-ventilated and easily accessible.
Check for Obstacles: Ensure the installation site is clear of any obstructions.
Install the Panel:
Mount the Panel: Securely mount the panel on a wall or other stable surface.
Ensure Level Positioning: Verify that the panel is level and firmly attached.
Wiring:
Connect Phase Wires: Attach the three-phase wires (R, S, T) to the appropriate terminals in the panel.
Connect Neutral and Earth Wires: Ensure the neutral and earth wires are connected properly.
Check Connections: Make sure all connections are secure and there are no loose or exposed wires.
Panel Termination:
Inspect Terminations: Double-check all terminations to ensure they are done correctly.
Verify New Circuits: If new circuits are added to the panel, confirm they are functioning properly.
Panel Inspection:
Conduct a Thorough Check: Inspect the panel thoroughly to ensure there are no issues with wiring or connections.
Perform Safety Tests: Test all safety features and verify that everything is operating correctly.
Service:
Power On the Panel: Switch on the power and test all circuits.
Seek Expert Help if Needed: If any issues arise, consult a professional electrician immediately.
By following these steps, you can ensure a successful installation of your 3-phase panel distribution system, which will help in the efficient management of electrical power.
For more articles and resources, visit our website Watt Vission.
